The /media directory is present in every default installation of WB, assuming that you haven't defined a different directory in WebsiteBaker Settings. It is where you - and your users - should upload files that you want to use in your site – such as images or movies you intend to show in your pages, downloadable documents to which you wish to provide links, etc.
You use the “Media” section of your Admin to manage the contents of the /media directory of your WB site.
The main Admin menu, while visiting the Media section
Through the Media section, you can upload files, create sub-directories - to help keep the /media directory more organised and manageable - as well as rename and delete these files and sub-directories.
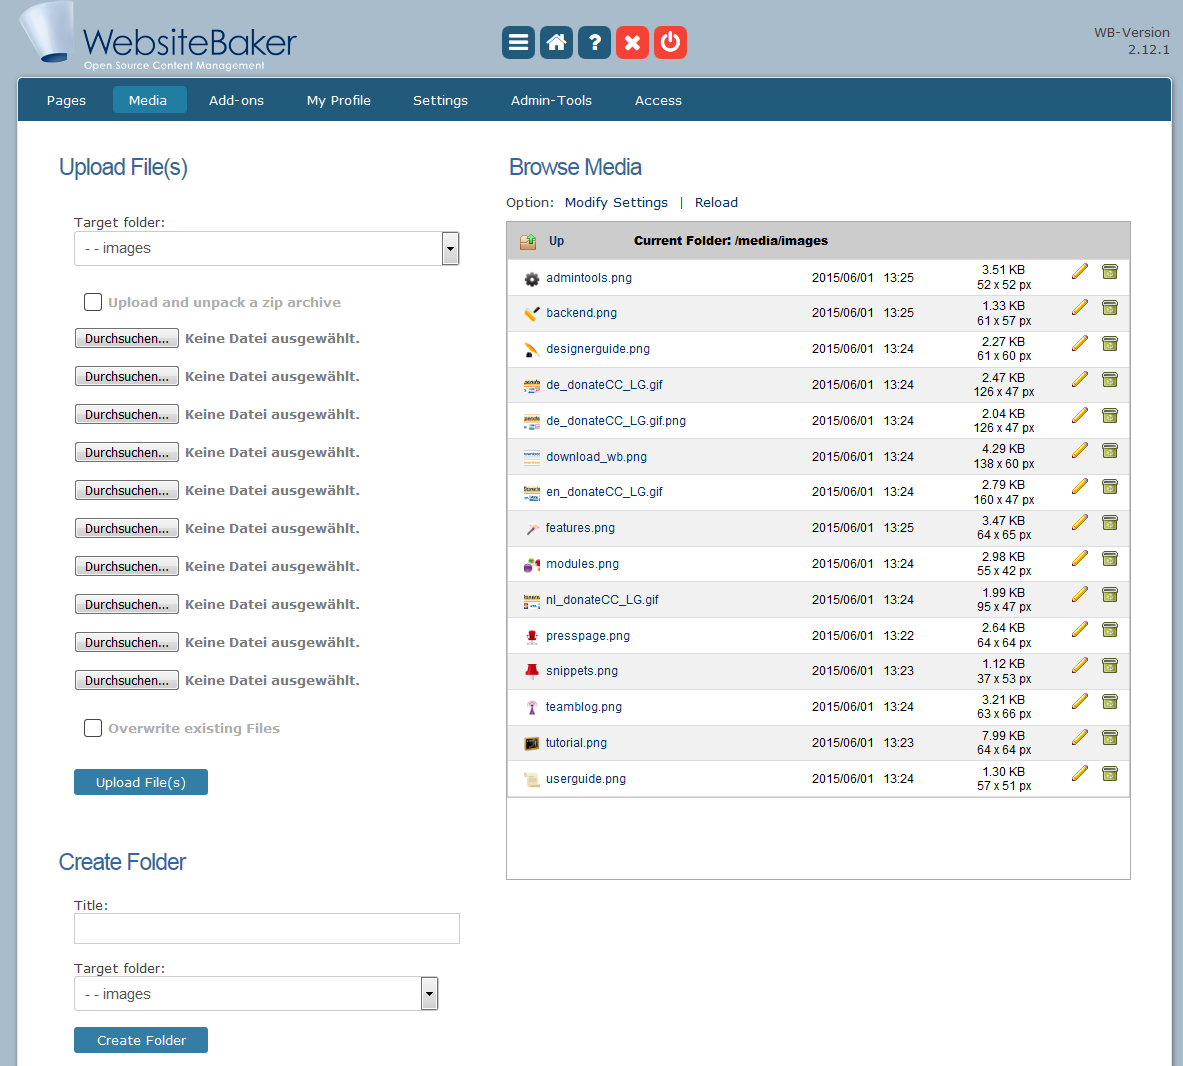
Browse Media
The “Browse Media” section provides you with an interface to manage the files and sub-directories of the /media directory of your WB site. You can upload, view, rename, and delete files and sub-directories directly from your Admin -> Media section of WB – no other program is needed.
Refreshing the View
Some Administrators, however, prefer to use other software – such as their own favourite ftp client - to upload files to the /media directory. If you have just uploaded items into the /media directory, or its sub-directories, using a software other than WB, then the list you see in “Browse Media” may not be up-to-date, and may not reflect the true content of the directory. Click the “Reload” button to force WB to refresh the view, and show the full contents of the current directory.
![]()
Click Reload to force WB to re-read the contents of the current directory
Navigating The Media Directory
In the “Browse Media” list, you may see files, as well as sub-directories. The current directory being displayed appears in the title bar of the list:
![]()
The title bar of the Browse Media list shows we are browsing the media directory itself
Click on a file's name to open it with your browser. Click on a directory's name – or on the 'folder' icon next to it – to display it in the “Browse Media” list.
![]()
Click on the folder, to open it
Once inside a folder/sub-directory, click on the “Up” icon to get out of it.
![]()
Click Up to get out of folders
Renaming Files and Sub-Directories
You can rename any file or folder/sub-directory, by clicking its “Rename” button.
![]()
Click Rename next to any file or folder listing to rename it
Normally, WB will not allow you to use a name that is already in use by a file/folder in the same directory. If you tick “Overwrite existing File/Folder”, however, WB will delete the other file/folder, and then rename yours – yours will replace the existing one.
You can then enter the file/folder's new name – and file extension.
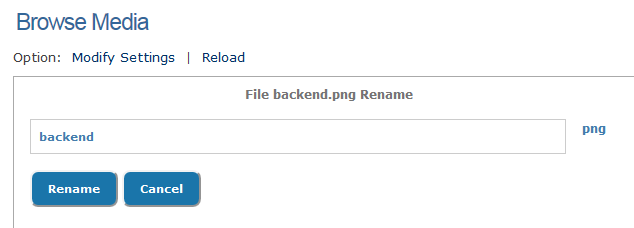
Renaming a file
Deleting Files and Sub-Directories
You can delete any file or folder/sub-directory, by clicking its “delete” icon.
Note: Deletion is permanent and irreversible!
![]()
Click Delete next to any file or folder listing to delete it
Create Folder
- Target Folder: Select from this drop-down menu the directory/folder in which you wish to create a sub-directory/folder.
- Title: Enter the name/title of the sub-directory you wish to create.
- Create Folder Button: Once you've selected a 'target folder' from the drop-down menu, and entered a name in the “Title” field, click this button to create the new folder/directory.
Your “media” folder can be setup as a shared workgroup directory, for a small workgroup – where each user has his/her own private space. To find out more, consult this reference guide on General Settings .
Upload File(s)
- Target Folder: Select from this drop-down menu the directory/folder to which you wish to upload your file(s).
- Checkbox "Upload and unpack a zip archive": Since version 2.8 of WebsiteBaker you can upload a zip file to the media directory containing many files (e.g. images). WebsiteBaker will automatically unzip the files maintaining the included folders. This can save much time for you compared to uploading each file individually, and the file size may be much smaller.
- Checkbox "Overwrite existing files": If selected, existing files with the same name as uploaded files will be replaced. The old files will be deleted permanently. If not selected (default), existing files will not be replaced and the upload will not happen.
- "Browse..." Button: Click any of the 10 “Browse...” buttons to browse your computer, and select a file to upload. Up to 10 files can be uploaded at once.
- "Upload File(s)" Button: Once you've selected the 'target folder', browsed and selected files in your computer to upload, and chosen whether they should overwrite existing files or not, then click the “Upload File(s)” button to start the upload.