Before installation
- Step 1: Ensure Minimum Requirements are Met
- Step 2: Pre-Installation Checks
- Step 3: Obtaining & Downloading WebsiteBaker
- Step 4: Upload WebsiteBaker Files
- Step 5: Start Installation Process
Step 1: Ensure Minimum Requirements are Met
We recommend to check if your current settings meet the minimum requirements for a stable running and functioning WebsiteBaker. If you are unsure, please contact your internet provider, web host or server administrator.
WebsiteBaker requires certain environmental requirements for smooth operation.
These are:
Operating system: Linux
- Database : MySQL 5 / MariaDB 5 and up
- Webserver : Apache
- PHP : ab 8.1 bis einschließlich PHP-8.3 (FastCGI, FPM) wir empfehlen mindestens PHP 8.2
- Diskspace : 60 MB oder mehr
You will also need FTP access to the directory in which WebsiteBaker is to be installed, and preferably a good FTP program.
Step 2: Pre-Installation Checks
- On your server, create the directory where you want to install WB.
- Make sure you have permission to read & write to this directory via ftp. To confirm, you can use your ftp client to try accessing, uploading and deleting a file there.
- Create a MySQL database and a database user for your new site. Make sure the user has proper permission for adding and deleting both entries and tables in the database. Make a note of the database name, the user and password.
If you are unable to create a new database, because of limits by your webhost or other reasons, you may use an existing database and user instead of creating a new one.
During the installation it is possible to change the default table prefix to clearly seperate the tables from those used by other programs. This also makes it possible to use the same database for several sites (and installations of the software), if desired.
Step 3: Obtaining & Downloading WebsiteBaker
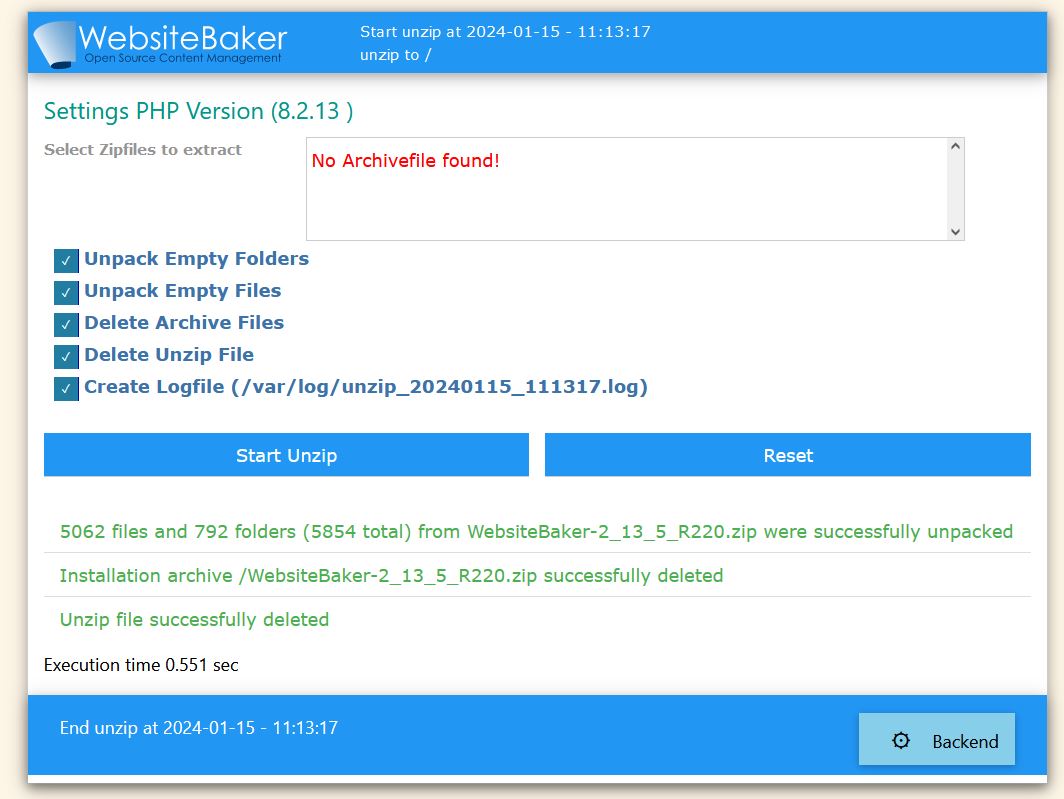
If you have no way to upload and unpack ZIPs in your hosting package management, do the following:Alternatively we offer a small script (WebsiteBaker unzip) in the download area. This script can be used for new installations and upgrades starting with WebsiteBaker 2.8.3. It is very easy to use and will be described below.
upload both zip archives from the download area to the intended folder of the web server
Rename the file unzip.php.zip to unzip.php
Call in browser https://your-domain.tld/unzip.php
After a very short time this message appears in the browser window.
Step 4: Upload WebsiteBaker Files
Using your preferred ftp program, you can now upload the files from the wb folder in the Installation Package to the folder you created on the server for your new WebsiteBaker site.
Files should be uploaded with exactly the same file structure as they appear within the Decompressed Installation Package..
The Installation Package contains different kinds of files (HTML, php, Javascript, image, etc.),- therefore we recommend to use `the automatic' transfer mode in your ftp program.
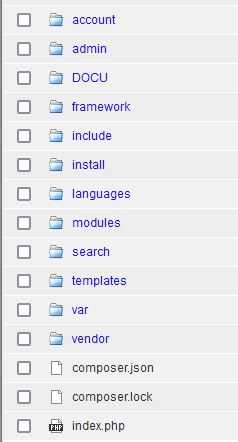
Directory structure where WebsiteBaker has been uploaded to a folder called "mycompany":
Step 5: Start Installation Process
WebsiteBaker has a built-in installer, that will guide you, step-by-step, through your site's installation and setup process. To launch the installer, open your web browser, and enter the address to access the directory where you've just uploaded the WB files. If you uploaded the files correctly, WB will detect that this is your first launch, and will automatically start up the installer. You should see a page titled “WebsiteBaker Installation Wizard”.

Welcome to the WebsiteBaker Installer